Here it is above, draped over the porch rail for its first photo op, in the diminishing afternoon sunlight.
These taken this morning, late sunrise. I wanted to get the true colors, which is more difficult to achieve indoors.
I learned a lot making this quilt. First of all, pay attention to what you're doing. For instance, like how you cut the setting triangles, in order to avoid having long seams on the bias like I had. In the end it turned out fine, but it took a little manipulating to get it "square" if you know what I mean. I need to not be in such a hurry and to be more mindful. Although I have to say, I do like the way those stripes look, going at an angle.
(Learn more about the construction of this quilt and how I solved the bias issue here.)
I experimented with some machine quilting techniques, some successful, some not so much. I first tried machine quilting gentle arcs, but I couldn't quite get the thread color right and no matter what I used the thread looked like it was just sitting on top of the blocks, which I felt detracted from the design of the blocks themselves (see elaboration here). Then I tried some big-stitch quilting in the blocks which killed my hands (another false start here). I went back to the gentle arcs idea, and ended up plain old hand quilting them, which I think was the best way to go. But like I mentioned, it took a very long time.
For the borders I wanted cables, but unlike in the body of the quilt I wanted the quilting to show up more as a design element. The most effective solution for the top and bottom borders, I felt, was big-stitch quilting in rust.
A huge help was learning the proper needle to use for perle cotton, thanks to Shawn at The Rusty Crow Quilt Shop, who turned me on to the Bohin Chenille needles. I used size 24, which slid through the fabric and batting with ease. Perfect! Thank you, Shawn!
However, hand quilting was definitely not going to show in the busy pattern in side borders, big-stitch or no. So I (boldly and somewhat nervously) decided to try quilting the cable with the walking foot* on my machine, using a contrasting color. I think it turned out pretty good for my first try!
You still have to look pretty close, but at least it shows
*a note about the acu-feed system on the Janome machines: this is really
not a walking foot, but an even-feed foot, which is similar but not the
same. It does not "hop" like a walking foot, and once you get three
layers including batting under it, it tends to push the top layer a bit.
Which can really skew your quilt if you're not careful. Word to the
wise, if you are considering one of these machines.
I hope they don't throw me in jail for posting this.
The only thing they don't tell you is how far away from the edge to sew the binding on. I did 5/8" which seemed to work.
Pretty groovy looking, huh?
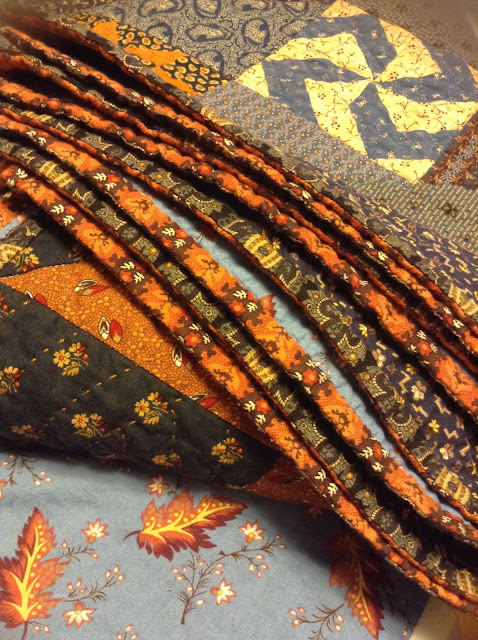
I couldn't resist taking this photo of the two-sided binding all stacked up.
BTW I used 100% bamboo batting, which washed up beautifully and supposedly does not crease. I'll be testing out the warmth factor as it makes its rounds in the rotation of lap blankies that I snuggle under every morning as I drink my coffee and read the paper, even in the summer. This one is just in time for Fall, and the weather is starting to cool a little.
To review, this is my arrangement of the 36 blocks made by six of us for a block exchange last year, which were taken from the Rosemary Youngs Civil War books, or the Farmer's Wife. I am looking forward to showing my completed quilt at our guild show in February, hopefully some of the others will be there too. (hint - you know who you are!)
Happy Quilting to all!
Love,
Sandy


