Wednesday, December 17, 2014

Holiday Vignettes

 "Three Wise Men" gifts from Mom-in-law


 Elf from my mom & dad's xmas stuff

 hubby and I made about two doz of these salt & flour ornaments the first year we were married (going on 30 yrs ago!)

 Before I discovered quilting, I did counted cross stitch. 
Made for my parents, several decades ago.

 Santa, another gift from Mom-in-law. She has the best taste.
Snow globe, gift from a friend.

 Snowflakes made by my friend Pam.
Mom's teacups, and various ephemera in cabinet.

 I have pix from my childhood with this guy in them.

 Red/white mini made by Mom-in-law


Happy Holidays, everyone!!

love,
Sandy

Monday, December 1, 2014

Farmers Wife on the Wall

My Farmers Wife quilt has been marinating for several months and I've been anxious to get back to it lately, so I hauled out the blocks and put them back up on the wall, trying to duplicate the setting I'd played with at the time.


Here it is back in March.

Some of the blocks were "fill in" blocks while I was playing around with setting ideas..


...and ultimately went to live in this quilt.


Meanwhile I made a bunch more Farmers Wife blocks to fill in.


 So here it is, with the new blocks.
 I'm wondering why I like the first one better? I think it might be the tone in the photo? Maybe rearranging the blocks might help? Is it the blocks themselves? Something's not sitting quite right. I think it need to marinate some more.

Linking up to Design Wall Monday, if I can remember how!

love,
Sandy

Monday, November 24, 2014

Quilting


I thought I'd try an all-over arc design on this. It was so easy it was fun. And fast!

I started with only one arc marked, in yellow chalk, you might be able to see about halfway down from the top right corner, below. I used a tack in the corner, a string, and my yellow chaco-liner. My first line of stitching was on that yellow line, then I stitched inward and outward from there, using the guide on the walking foot.


These shots show off the quilting a little better.


The back is flannel.  Still a little stiff looking as its unwashed at this point.


Here it is, washed up and nicely crinkled.


This really was a quick and easy way to quilt this, with practically zero marking. I will definitely be using this technique again.


Still in the mood for large arcs, I decided to do it on my little scrap quilt, and try out the "hand quilting" stitch on my Janome at the same time.


The idea is, you use the thread color you want to show in the bobbin, and "invisible" thread on the top. I chose 100% polyesther by Superior Threads, thinking it would be stronger and have less stretch than the nylon I have used in the past. Really, it wasn't much different.

While I really like the resulting look, the process was a little frustrating. You have to increase your top tension - somewhere between 6 and 7 on my machine - in order to pull the bobbin thread up to the top. Any lower won't pull the bobbin thread up. Any higher and the top thread breaks. And then you also have to sew     r  e  a  l  l  y    s  l  o  w    to keep your top thread  from breaking. Even with that, the thread still broke at least twenty times and being "invisible" you can barely see the damn stuff, making it a royal pain to have to keep re-threading the needle.  This little 12 x 18" "doll" quilt took me as long to quilt as the 36" x 48" star quilt shown above! In the future I may go back to the nylon thread, and see if that works any better.


Kinda cool looking though, huh? And still  a fraction of the time it would have taken to hand quilt it, with no stress on my hands. I'm really hoping I can get the hang of this stitch, for future use.


Meanwhile, I was going to try some FMQ on this one, but lost my nerve.  I ended up sticking with my usual "petal" motif, or what is sometimes called "orange peel" tho I could never figure out why.


It could actually be reversible. I might even like this side better!


Sorta goes with the painting, don't you think?


Happy Thanksgiving, everyone!

Love,
Sandy

Monday, November 10, 2014

What I Got Done...


... at my quilt retreat over the weekend.


I will machine quilt this one - I'm thinking I might experiment with the "big arcs" idea -  and it will go to the VA hospital as a lap quilt for an injured vet. 


A couple years ago I purchased a grab bag of Cherrywood hand-dyed scraps at PIQF, with the intent of making an Amish inspired doll quilt. There wasn't enough of any one fabric for a border, so I purchased a small cut at their booth last month of a color called "logan" which I liked better than straight black. I will definitely hand quilt this.

It measures 14 x 17".


Here's a picture of the quilt that inspired me. The label reads:

Broken Dishes (crib quilt) ca. 1930
Holmes County, Ohio
37x32 in.


The other three are made totally from scraps, from projects you might recognize from past posts.

Claire, if you're reading this you should appreciate these!


I'm thinking either big-stitch something, or by machine. No fine hand quilting this time around.


I think they'll look pretty cool, once quilted and bound. Then...  possibly "bound" for a fundraiser. 


Here's one still waiting for something to go in the middle :-)


I'm going to practice a new (to me) machine quilting technique on this one, which will fit nicely on my end table, or in the trash, depending on how it goes.


The last thing I want to show you is the "secret" quilt I've been working on for the past year. 

This is the Friendship Album Quilt, from Civil War Sewing Circle by Kathleen Tracey. 

in progress

Over the past year, I collected signature blocks and Ohio Star blocks from close to sixty women (and one man) who for the past fifteen years have attended the annual quilt retreats put on my my friend Janet Locey. 


I sewed it together in June, then sent it to Janet's favorite long-arm quilter.

I found the perfect border and binding, in my stash!


Anyway, it was a thrill to make, and even more so to present it to Janet. 

Janet accepting her quilt
Does she look happy? :-)

All in all, it was a fabulous quilt retreat (really.. they all are) and now I'm exhausted!


Love,
Sandy

Monday, November 3, 2014

Winter Blues

Not quite winter yet, but we had a really nice (and much needed) rainstorm over the weekend, which was perfect for hunkering down in the sewing room.


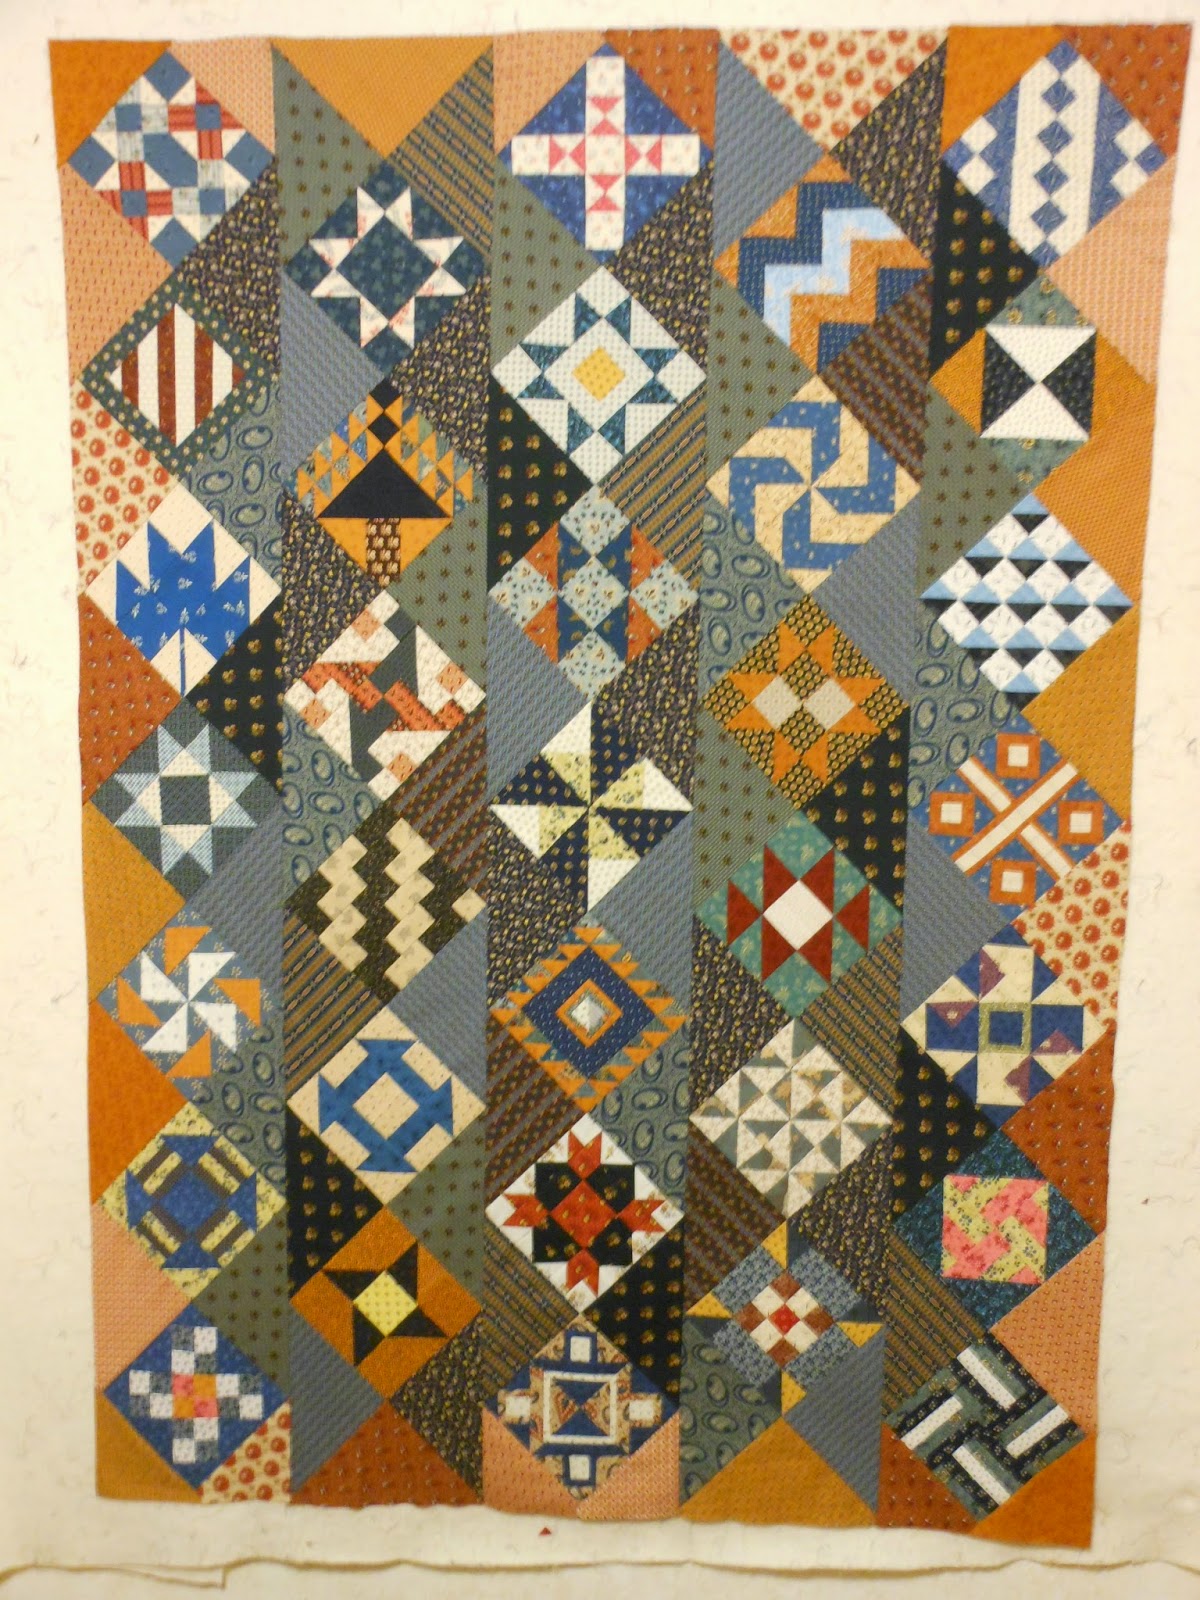
I pulled out these sampler blocks from an exchange I took part in earlier this year, and started playing around. I really did try to avoid going so dark with this, but wanted to pick up the madders/cheddars and blues which are predominant in many of the blocks. I was inspired to try this setting and ended up going with it - as opposed to the bug fabric I had auditioned several months ago.


bug fabric
The fabric I'm talking about is really tossed leaves, but someone said they thought they looked like bugs and I've thought of it as the bug fabric ever since.

The bugs will, however, grace the back of the quilt. Sorry, but I love this fabric! Its also very soft, as well as pretty. IMO. 

Anyway, the colors felt warm and cozy to me, and I was in the mood to move ahead with this, so  I went to work.


I laid it out on my design wall, and approached the construction in vertical rows. I took each block down one at a time, attached the triangles, then put them right back on the wall. Many people seem to be able to lay out stacks beside the machine and just sew, but with this setting that would be way too confusing for me. I often wonder how anyone can work without a design wall (or floor, if you have room, which I don't).


 I even had to mark the "top" with a pin, to help me avoid installing the unit upside down. Which I managed to do once anyway, don't ask me how.


I pressed and trimmed as I went along.


Units were then peeled off one at a time and joined to one another.

And you know me, I had to fan the intersections to avoid bulk.


You may notice its a little wide across the top. Its not entirely the photo. Upon measuring, I had almost two inches difference from the top to the center to reconcile, and about an inch at the bottom. Silly me, I didn't think through how I cut my triangles, and they're all on the bias at the edge.  Well... I measured my borders the way you're "supposed" to (meaning I rarely do this) across the middle of the quilt, then cut the borders to that measurement. Then you have to ease the quilt into the borders. I was astonished this actually works!


So here it is, ready to baste and quilt. I'm going to try out a 100% bamboo batt I bought at PIQF last month, by Winline. The plan is to machine quilt this on my Janome, in some kind of all-over design. I'm thinking, large arcs, like a Baptist Fan gone wild. Wish me luck!

Meanwhile, I finally finished hand quilting my little Basket Quilt.

Judie Rothermel Dressing Gowns line, combined with some Cocheco Mills prints.

oops... looks like a dog ear on the top left corner. Interesting how some of these goofs don't show until you look at the photo. Can I fix this? Maybe....    needs blocking at any rate.

I have a few more things in the works, but that's enough for one post!

love,
Sandy

Tuesday, October 21, 2014

Favorite New Tool


I had a good block of time over the weekend, so knuckled down and machine quilted my spiraly quilt (see last post), which I'm now calling "Frenzy."  The quilting was pretty much a breeze on my new Janome 8200 with all its great features (stitch-in-the-ditch walking foot, variable speed control, auto thread cutter and more ... plus that 11 inches of throat space for incredible maneuverability.

However I was still left with about a thousand threads to bury - as many as eight at the end of each row.


Can you imagine having to thread each and every one of those threads onto a regular needle? Believe it or not, that's what I used to do - until I discovered the "self threading needle."

These things have changed my life!
You just slip the thread in from the top, pop it into the groove, and you're good to go.
You can actually get several threads at a time into it, speeding up the process even more.
(I tried to get some photos of that, but it all came out in a blur, in spite of the "micro" setting on my camera... sigh ~ )
This graphic explains it much better than I can.
It only shows one thread but believe me, you can pop several in there.


So the quilt is now done, all that's left to do is the binding, which will be the same as the border fabric so this is pretty much what it will look like.


I auditioned several fabrics for a second border, but nothing really worked.  As it is, its a nice throw.

Here's a detail pix that shows the quilting a little bit better.  Very simple, not too dense so it has a really nice drape.


This will either be for sale in the general exhibit, or will be on the auction block, at our (PVQA) Quilt Show in February.

love,
Sandy